How To Cook Frozen Steak Without Thawing
Cooking a frozen steak without thawing is a high-efficiency culinary technique that utilizes thermodynamic principles to achieve a superior exterior sear while maintaining a perfectly cooked interior. By skipping the thawing process, the frozen core of the meat acts as a thermal buffer, protecting the delicate internal muscle fibers from over-coagulation while you focus on building a robust savory crust.
Thermodynamic Advantages of Cooking from Frozen
Traditional methods often lead to a “grey ring” of overcooked meat around the edges. This method offers several distinct advantages:
- Thermal Buffer Protection: Because the center is ice-locked, you can apply high heat to the surface for a better Maillard reaction without the risk of overcooking the interior too quickly.
- Superior Moisture Retention: Since the steak transitions directly from a frozen state to cooked within a controlled oven environment, it often retains more aqueous fluids, resulting in greater succulence.
- Reduced Overcooking Window: The cold internal temperature provides a much wider window of precision for hitting a uniform medium-rare doneness.
- Ideal Surface for Searing: The dry, frozen surface of the protein facilitates immediate browning upon contact with a hot skillet, as there is less surface moisture to create unwanted steam.
Required Professional Infrastructure
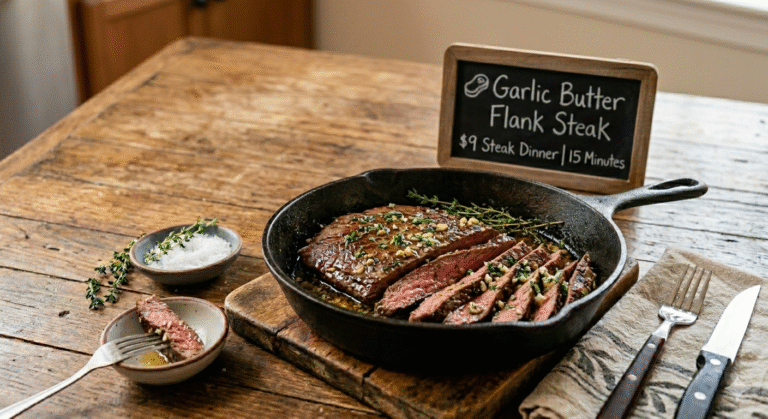
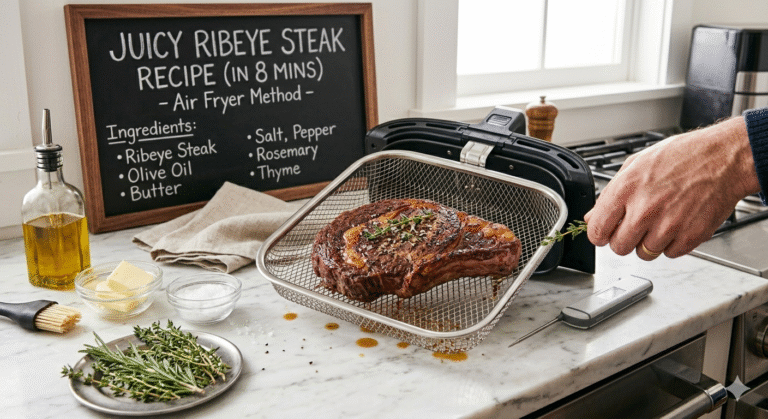
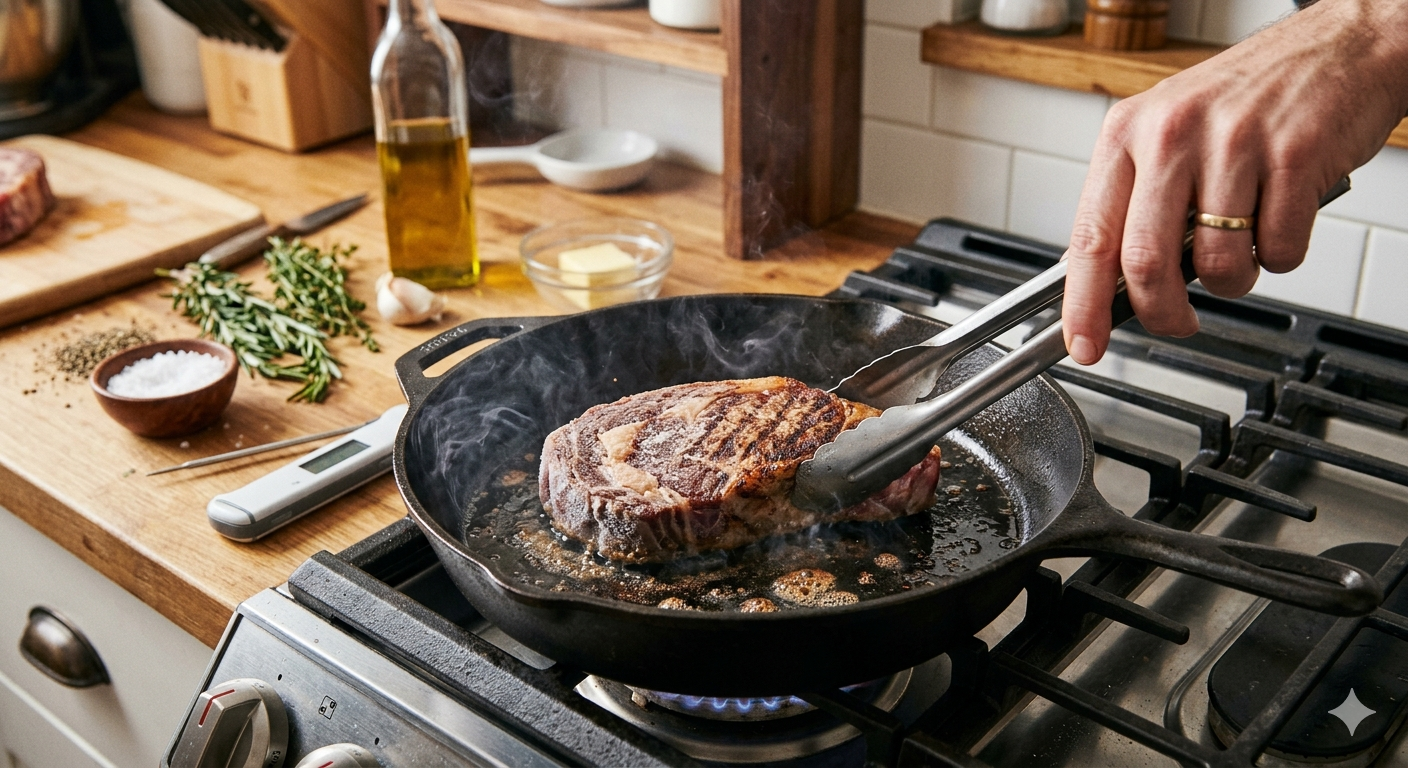
To execute this protocol with precision, as shown in the image image_ff079a.jpg, you need specific tools to manage heat distribution:
- High-Mass Skillet: A heavy-bottomed vessel, such as the cast iron skillet in image_ff079a.jpg, is necessary to maintain high temperatures when the cold meat is added.
- Precision Thermal Probe: A digital thermometer is a mechanical necessity because traditional timing is unreliable when starting from a frozen baseline.
- High-Smoke Point Lipids: Use oils with high thermal stability to ensure the sear doesn’t produce acrid aromatics or undergo oxidative degradation.
- Dual-Phase Heat Source: You will need both your stovetop for high-intensity conductive heat and an oven for low-intensity convective heat.
Step-by-Step Systematic Protocol
Following a streamlined, multi-phase workflow is essential for transitioning the steak from a frozen state to a stabilized, ready-to-serve protein.
Phase 1: High-Velocity Surface Searing
The objective here is to establish a caramelized exterior while the interior remains frozen.
- Vessel Preparation: Heat your high-mass skillet over a high-output burner until the oil begins to shimmer.
- Protein Application: Place the frozen steak directly into the skillet. As seen in image_ff079a.jpg, use tongs to ensure full surface contact with the conductive base.
- Bilateral Searing: Sear each side for approximately 90 to 120 seconds. Aim for a deep golden-brown crust rather than internal cooking.
- Edge Stabilization: Use your tongs to hold the steak vertically to sear the lateral fat cap and edges, initiating lipid rendering.
Phase 2: Internal Convective Thermal Cycle
Transition the steak to a lower-intensity environment to allow the frozen core to hydrate and cook evenly.
- Oven Transition: Move the skillet (or the steak on a wire rack over a baking sheet) into a preheated oven set to 135°C (275°F).
- Seasoning Application: This is the optimal time to apply salt and spices, as they will now adhere to the rendered surface lipids.
- Thermal Monitoring: Insert the digital probe into the geometric center. The convective heat will slowly raise the internal temperature without scorching the crust you already built.
- Target Thresholds: Remove the steak once it reaches a point approximately 3 to 5 degrees below your final desired doneness (e.g., pull at 52°C for a final medium-rare state).
Phase 3: Post-Thermal Stabilization (The Rest)
This is a critical mechanical stage where the internal pressure and moisture of the protein units equalize.
- Conductive Resting: Place the steak on a neutral surface or warm plate.
- Fluid Redistribution: During a 5 to 10-minute rest, internal moisture redistributes back through the muscle fibers.
- Carryover Cooking: Residual thermal energy will raise the internal temperature to your final target, ensuring a tender internal crumb.
Comparison: Frozen vs. Thawed Methods
| Metric | Thawed Steak | Frozen Steak (Direct Cook) |
| Preparation Time | High (Requires 12–24h thaw) | Minimal (Direct from freezer) |
| Searing Quality | Good (May require drying) | Excellent (Natural surface dryness) |
| Interior Uniformity | Subject to “Grey Ring” | High (Frozen core prevents overcooking) |
| Succulence | Standard | High (Minimal moisture loss) |
Professional Enhancements
To elevate the final flavor profile, consider these modular additions during the convective (oven) phase:
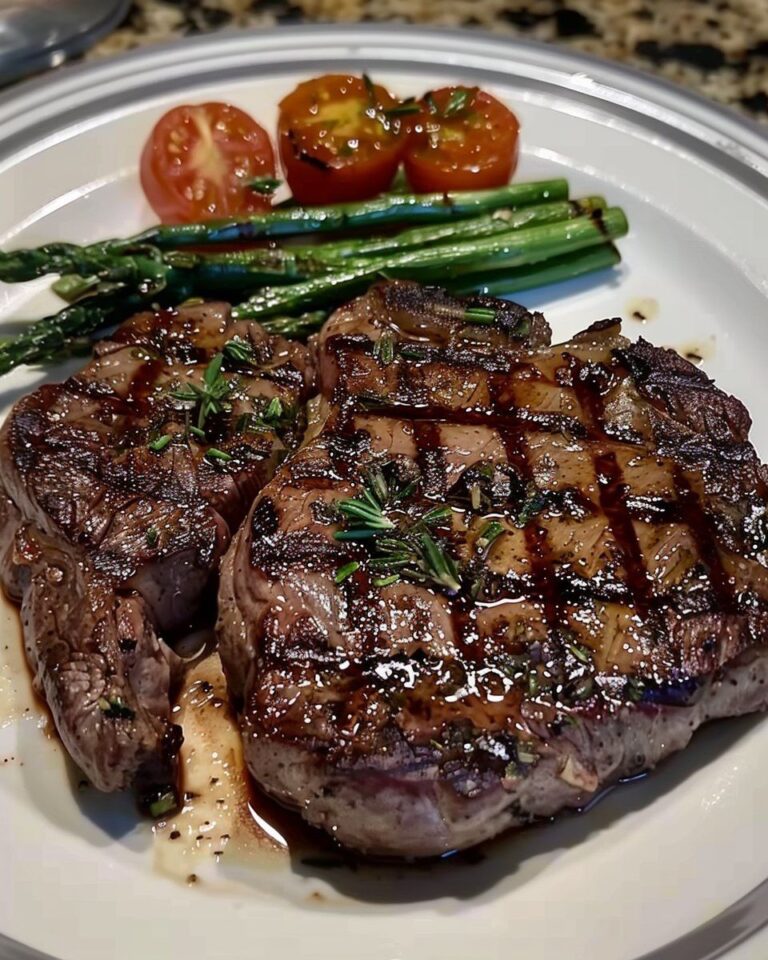
- Lipid Basting: Add butter, garlic, and botanicals like thyme or rosemary (visible in image) to the skillet. The melting butter will carry aromatic oils into the crags of the seared crust.
- Food Safety Benefits: Cooking from frozen minimizes the time the protein spends in the “danger zone” temperatures where bacterial growth can occur during slow thawing.
- Vessel Choice: While cast iron is favored for its thermal mass, stainless steel clad vessels also offer high utility due to their rapid thermal response.
By utilizing this systematic approach, you can produce a steak with a professional-grade textural contrast and savory depth, regardless of the starting state of the meat.